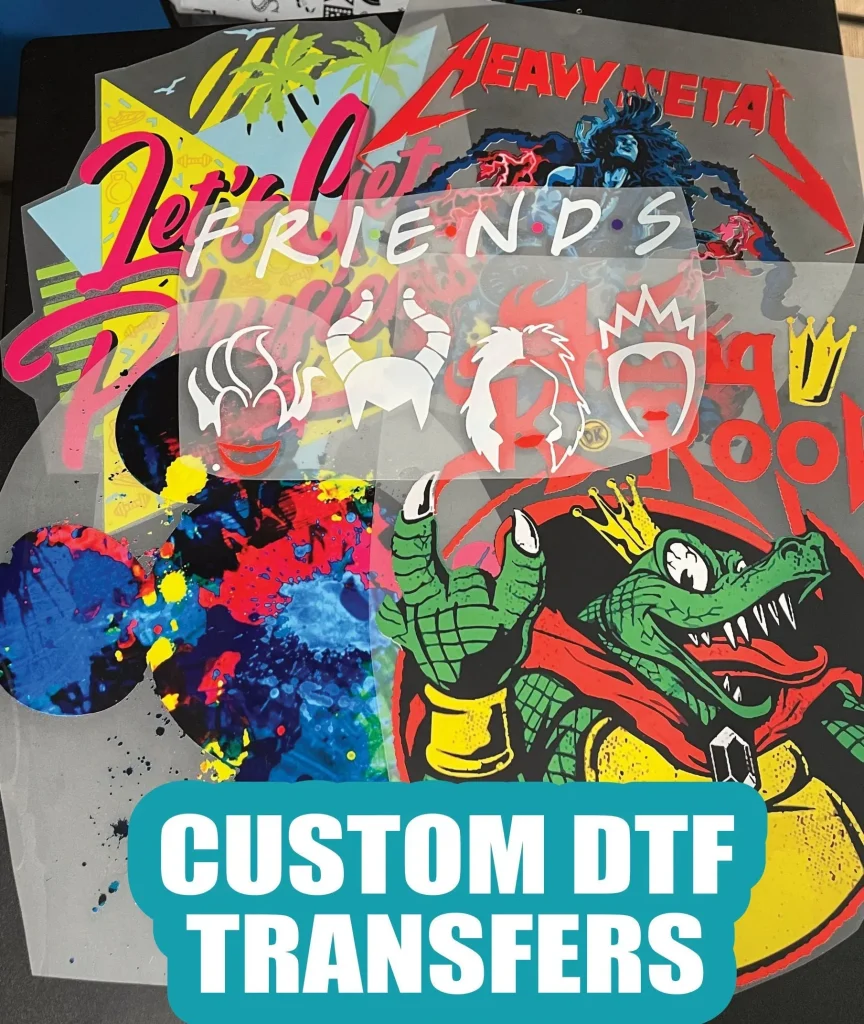
In the realm of custom apparel, DTF transfers stand out as a revolutionary technique for creating vibrant and long-lasting designs. Direct to Film (DTF) transfer printing allows users to easily print intricate designs onto various fabrics, making it a favorite among DIY enthusiasts and professionals alike. The beauty of DTF transfers lies in their ability to produce eye-catching visuals and remarkable durability with minimal effort. This article will guide you through the process of utilizing DTF transfer designs to bring your creative ideas to life. With a focus on best practices for DTF printing, you’ll be well-equipped to enhance your custom apparel with stunning results.
When it comes to innovative printing methods, the use of direct-to-film techniques has transformed how designs are applied onto textiles. This printing process not only ensures high quality and detailed images but also offers impressive versatility across different materials. Learning how to effectively use DTF transfers can open a new realm of possibilities for crafting personalized clothing items. From exploring the essentials of this method to implementing effective printing strategies, mastering this technique can elevate your design game significantly. Join us as we delve into the exciting world of DTF transfer applications for custom apparel creation.
Understanding the Core of DTF Transfer Printing
DTF transfer printing stands as a revolutionary technology in the realm of custom apparel. By directly transferring designs from a specialized film onto fabric, it offers a method that guarantees vibrant colors and intricate detailing. This innovative approach to printing has made waves not just in professional circles, but among DIY enthusiasts seeking to personalize attire. The primary appeal of DTF transfers lies in their versatility; whether you’re working with cotton, polyester, or blends, you can achieve stunning results that stand out from the crowd.
Moreover, DTF transfer printing captures the essence of both art and technology. It harmonizes the precision of digital design with the tactile satisfaction of fabric creation. As more people embrace this printing technique, understanding its potential will be essential for both hobbyists and professionals. From unique designs that symbolize personal stories to promotional apparel for businesses, DTF transfers facilitate an avenue for creative expression that is both accessible and rewarding.
Key Equipment for Successful DTF Transfer Design
To embark on your DTF transfer journey, gathering the right equipment is paramount. The first essential is a high-quality DTF printer; one designed to handle the specific inks and films necessary for this process. In addition to the printer, you will need DTF transfer film, a specially coated substrate that allows for the ink’s effective transfer. The adhesive powder is another critical component; it plays a vital role in ensuring that the design bonds efficiently to the fabric during the heat transfer process.
Investing in a reliable heat press machine is equally important. It ensures that the designs are applied under the correct temperature and pressure, essential for achieving durable and vibrant results. By carefully selecting your equipment, you set a solid foundation for creating stunning designs that stand the test of time. Therefore, when planning your DTF transfer project, make it a point to research and choose high-quality materials and machines to ensure your creative endeavors yield the best possible results.
Crafting Engaging DTF Transfer Designs
Creating a captivating design is where the magic of DTF transfer printing truly begins. Utilizing graphic design software like Adobe Illustrator gives you the tools to craft either new designs or refine existing ideas. Keep in mind that the resolution of your design plays a significant role; higher resolutions deliver better quality prints. Understanding color dynamics is equally essential; using a white base layer is crucial when working with dark fabrics to ensure your colors pop vividly.
As you delve deeper into the design process, consider what themes or messages your work will convey. By incorporating elements that resonate with your target audience, you are setting the stage for a successful project. Furthermore, experimenting with different design styles—whether minimalist, bold, or colorful—can help you discover your unique voice in the realm of custom apparel. The versatility of DTF transfers means that your creative possibilities are nearly limitless!
Step-by-Step Guide: Printing Your DTF Transfers
Once your design is complete, the next step involves printing it onto the DTF transfer film. Load your film carefully into the DTF printer, ensuring that it is correctly aligned for the best results. Selecting the right printer settings is crucial; aim for the highest quality output possible to capitalize on the vibrancy and detail of your design. If your design includes multiple colors, allow the printer to create a white base layer beneath colored graphics, especially when printing on dark fabrics.
Printing DTF transfers requires attention to detail for the best outcome. Review your print closely as it emerges from the printer, ensuring clarity and precision in the design. Taking the time to set up your printer correctly can save a significant amount of time and materials in the long run. By producing high-quality transfers, you not only enhance your apparel designs but also elevate your personal brand or creative endeavors.
Applying Adhesive Powder: A Key Step in DTF Transfers
After successfully printing your DTF transfer, applying adhesive powder is a crucial subsequent step. With the prints still wet, evenly sprinkle the adhesive powder over your design to ensure maximal coating. This powder works like magic, binding the transfer to the fabric once heat is applied. Careful attention to this process can mean the difference between a successful transfer and a design that peels away.
It’s important to shake off any excess adhesive powder gently after application. A clean transfer area will significantly improve the final visual quality of your print. After applying the powder, curing it through heat activation is the next vital step. This process ensures that the adhesive bonds firmly with the ink, optimizing the durability and vibrancy of the finished product. Mastering this part of the DTF transfer process instills confidence and professionalism in your custom apparel projects.
Successfully Transferring Your Design onto Fabric
The transfer of your design to the fabric is perhaps the most exciting phase in the DTF process. Positioning the cured DTF film on your chosen fabric requires attention to detail; accuracy in placement helps ensure that the final design meets your vision. Using a heat press, apply firm pressure for the appropriate duration—typically around 15 to 20 seconds at about 320°F. This step is crucial in bonding your design to the fabric effectively.
After pressing, allow the transfer to cool slightly before peeling back the film. This moment is filled with anticipation; revealing your design can be incredibly rewarding. It’s essential to inspect the transfer for clarity, color vibrancy, and overall adherence. If any issues arise, being proactive with additional curing or pressing may be necessary. Successfully completing this step ensures you have a stunning, durable design ready to wear or sell, showcasing the capabilities of DTF transfer printing perfectly.
Frequently Asked Questions
What is DTF transfer printing and how does it work?
DTF transfer printing, or Direct to Film transfer printing, is a process where designs are printed directly onto a special film. This film is then heat transferred onto fabric using a heat press. The technique produces vibrant, durable prints that can be applied to various fabric types, making it a popular choice for custom apparel.
How do I create DTF transfer designs that stand out?
To create eye-catching DTF transfer designs, use high-resolution images and vibrant colors. Utilize graphic design software to develop unique designs and consider layering white ink for designs printed on dark fabrics. This ensures that your DTF transfer designs are both striking and visually appealing.
What are some best practices for DTF printing to ensure successful transfers?
Best practices for DTF printing include using high-quality DTF transfer film, ensuring your designs are printed with the correct settings, and applying the adhesive powder immediately after printing while the ink is still wet. Proper temperature and pressure during heat transfer are also crucial for achieving optimal results.
How do I use DTF transfers on different types of fabric?
Using DTF transfers on various fabric types is straightforward. Ensure the fabric is clean and compatible, then follow the heat transfer process carefully. Adjust the temperature and pressing time based on the fabric to avoid burning or damaging the material. DTF transfers work well on cotton, polyester, and blends.
Can I experiment with custom apparel using DTF transfers?
Absolutely! DTF transfers are perfect for creating custom apparel. You can design unique t-shirts, hoodies, hats, and more by utilizing your creativity with DTF printing. Experiment with different designs, colors, and fabrics to see which combinations yield the best results for your custom apparel projects.
Where can I find resources and tutorials for DTF transfer techniques?
There are several resources available for DTF transfer techniques, including blogs like Printavo, YouTube channels dedicated to textile printing, and community forums where enthusiasts discuss tips and share experiences. These platforms can provide valuable insights and help improve your DTF printing skills.
| Step | Key Points |
|---|---|
| 1. Gather Equipment | Collect necessary items: DTF printer, DTF transfer film, adhesive powder, heat press. |
| 2. Create Design | Use software to design with high resolution and consider color layers for dark fabrics. |
| 3. Print Transfer | Print on DTF film using high-quality settings, include a base layer if necessary. |
| 4. Apply Adhesive Powder | Sprinkle adhesive on wet ink and heat to cure. |
| 5. Transfer Design | Press the film onto fabric at 320°F for 15-20 seconds, then cool and peel. |
| 6. Final Touches | Inspect the design for quality; additional curing may be needed. |
Summary
DTF Transfers are a revolutionary method in fabric decoration, allowing artists and DIY enthusiasts to create stunning designs with significant ease. This step-by-step guide provides practical insights into the process, from gathering the necessary materials like DTF films and heat presses to mastering the intricate steps of designing and transferring. DTF Transfers stand out due to their vibrant output and exceptional durability, making them an excellent choice for any creative project. With countless resources available, including online tutorials and community forums, anyone can dive into the world of DTF printing. In conclusion, immersing yourself in DTF Transfers not only enhances your apparel design capabilities but also unlocks endless creative possibilities for personal expression and professional work.

