
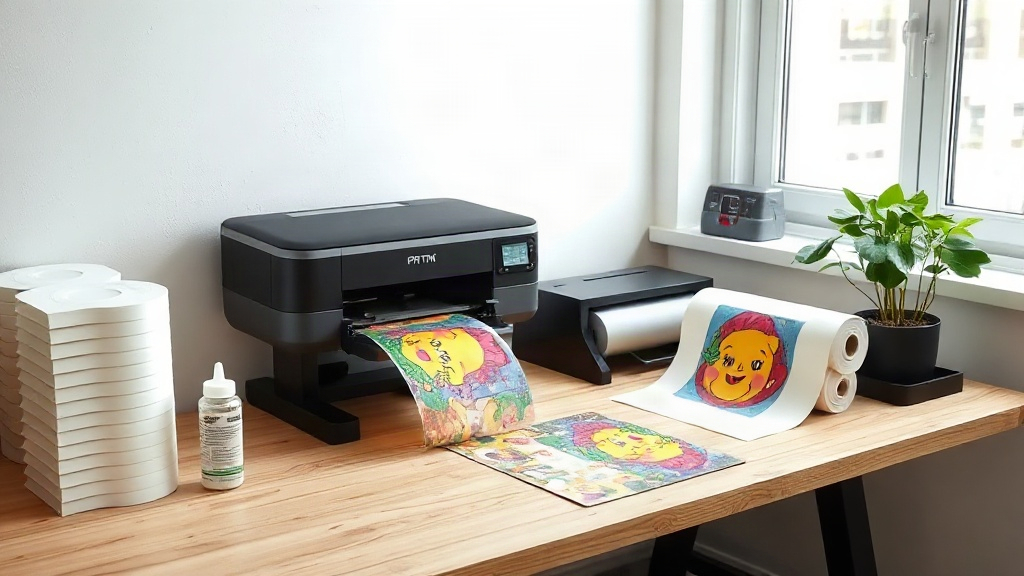
Most people discover DTF printing through a video where someone peels a vibrant, full-color transfer off a sheet of film and presses it onto a cotton t-shirt in under a minute. It looks effortless. Then you start pricing equipment and realize the gap between that clip and your spare bedroom is wider than you expected. I have run transfers out of a converted garage for a few years now, made plenty of expensive mistakes, and learned which parts of the process actually matter. This is the version of the story I wish someone had handed me before I bought my first roll of film.
What DTF Printing Actually Is
DTF stands for direct to film. Instead of printing straight onto a garment the way DTG does, or cutting vinyl shapes the way a plotter does, you print a mirrored image onto a special PET film using a printer loaded with pigment inks. While the ink is still wet, a fine layer of hot-melt adhesive powder gets scattered across it. That powder is the part most beginners underestimate. It is what lets the finished transfer bond to fabric under heat, and getting the powder coverage wrong ruins more prints than any printer setting ever will.
Once the powder is applied, the film goes into a curing oven or under a heat source to melt the adhesive into a gel state. At that point you either press it onto a shirt or store it. Stored properly, a cured transfer keeps for months, which is a huge advantage over DTG, where you print and press in one continuous flow.
Why People Choose DTF Over Other Methods
The appeal is not marketing fluff. It comes down to a few concrete advantages that matter once you are producing real orders.
- Fabric flexibility. Cotton, polyester, blends, canvas, denim, even some leathers. DTG struggles on dark polyester; DTF does not care nearly as much.
- No pre-treatment. You skip the spray step that DTG requires for cotton, which saves time and mess.
- Full color without limits. White ink sits under the CMYK layers, so bright designs pop on black shirts without the washed-out look you get from some alternatives.
- Print now, press later. You can build a stock of transfers and press them as orders come in.
Those four points are why small shops, crafters, and print-on-demand sellers keep gravitating toward DTF. It solves problems that other methods leave on the table.
What You Actually Need to Get Started
The Printer and Ink
A dedicated DTF printer is the standard route. Modified Epson chassis machines are common because the printhead technology handles pigment ink well. You will see prices ranging widely depending on width and build quality. A 13-inch desktop unit is the usual entry point for home setups. Anything wider starts demanding serious space and ventilation.
Ink matters more than people admit. Cheap pigment ink clogs heads, fades after a few washes, and produces weak color. Buy from a supplier who specifies the ink is formulated for DTF, and keep spare cartridges or bags on hand. Running a head dry mid-job is a miserable afternoon.
Film, Powder, and Curing
You need DTF-specific PET film, not generic transparency sheets. The coating on the film is engineered to release the cured transfer cleanly, and the wrong film will either stick permanently or release too early.
Hot-melt powder comes in different mesh sizes. Finer powder gives smoother detail on small text; coarser powder grips better on heavy fabrics. Most home setups keep one mid-range powder and adjust elsewhere.
For curing, you have options. A dedicated curing oven gives the most consistent results. Some people use a heat press with a low-pressure setting, and others build a DIY powder shaker and curing station. The goal is simple: melt the powder evenly without scorching the film.
Heat Press
Do not try to press transfers with an iron. You need even pressure and accurate temperature, which is exactly what a heat press provides. A clamshell or swing-away press in the 15x15 inch range covers most apparel work.
The Workflow, Step by Step
- Prepare your artwork. Mirror it, set the color profile your printer expects, and add a white underbase layer if the design needs it.
- Print onto the film with the coated side facing the correct direction. Get this wrong once and you will never forget again.
- Apply powder while the ink is wet. Shake off the excess thoroughly. Leftover powder cures into gritty specks that transfer onto the shirt.
- Cure the powder. Watch for the surface to go from matte to a slight gloss. That shift is your signal.
- Press onto the garment. Typical settings sit around 300 to 320 degrees Fahrenheit for 10 to 15 seconds with medium pressure, but always follow your film and powder specs.
- Peel. Most DTF films are cold peel, meaning you wait for the transfer to cool before removing the film. Hot peeling too early pulls detail with it.
Mistakes That Cost Real Money
The first one is under-powdering. It looks fine on the film, then the transfer peels off in the wash. Over-powdering is the opposite problem: a stiff, plastic-feeling patch that cracks.
The second is inconsistent pressure on the press. One corner of the design lifts because the platen was not level. Check your press with a pressure gauge or a simple test print across the full platen.
The third is skipping a wash test. Before you sell anything, press a sample, wash it five times, and inspect. This single habit will save your reputation.
Space, Ventilation, and Safety
You do not need a warehouse, but you do need airflow. Curing powder releases fumes, and pigment ink has its own considerations. Work in a room with a window, add an exhaust fan, and consider a small air purifier with a carbon filter. Wear a mask when handling powder. It is fine to be casual about a lot of things in this craft, but not this one.
Keep your printer on a stable surface away from dust. Dust is the enemy of clean prints, and a garage with a woodworking bench nearby will punish you.
Is It Worth It for a Home Setup?
If you plan to sell, yes, provided you treat it as a small business with real overhead. If you only want a handful of shirts for yourself, a service that prints transfers for you will usually be cheaper and far less frustrating. The break-even point depends on your order volume, ink costs, film costs, and how much your time is worth. Run those numbers honestly before committing.
What DTF gives you that other methods do not is flexibility: any fabric, any color, stored transfers, no pre-treatment. For a home operation that wants to say yes to more customer requests, that flexibility is often worth the learning curve.
Frequently Asked Questions
How long do DTF transfers last on a shirt?
With correct powder application, proper curing, and a good press, a transfer typically survives dozens of wash cycles. Turning the garment inside out and washing cold extends that considerably. Poor curing shortens it dramatically, which is why wash testing matters.
Can I use a regular inkjet printer for DTF?
Not reliably. Standard inkjet inks are not formulated for the DTF process and will not hold up to washing or produce proper white opacity. You need a printer converted or built for DTF pigment ink.
Do I need a curing oven, or can I use my heat press?
Many home setups cure powder with a heat press on low pressure, and it works. An oven gives more consistent results across larger batches. Start with the press if budget is tight, then upgrade when volume justifies it.
Why is my DTF transfer cracking after washing?
Cracking usually points to under-curing, too much powder, or pressing at the wrong temperature. Check each variable in order. Under-cured adhesive is the most common culprit.
Is DTF printing profitable for a small home business?
It can be, especially for low-volume custom orders where other methods are impractical. Profitability depends on pricing your time, controlling material waste, and keeping your printer running consistently rather than letting heads clog between jobs.