
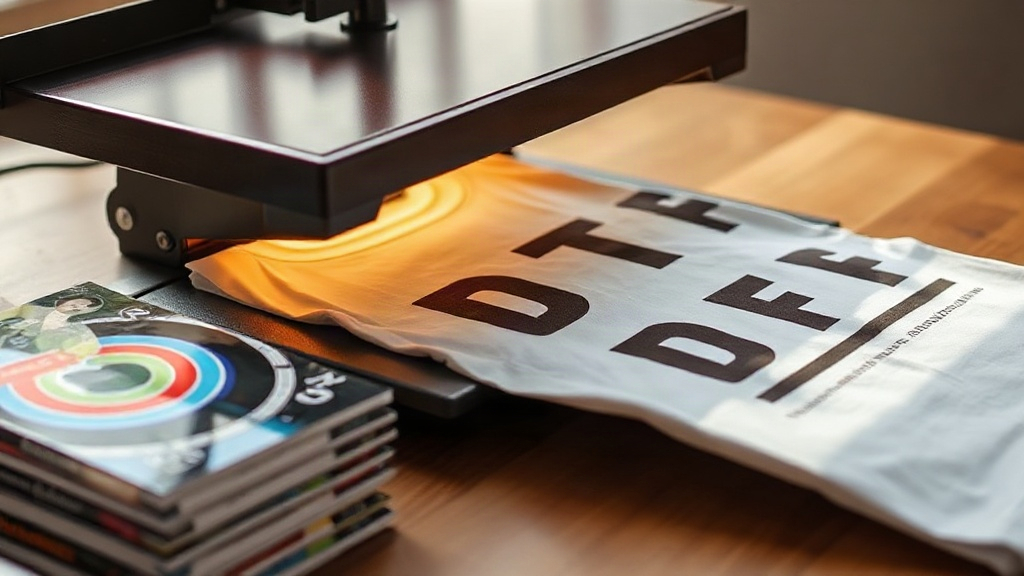
When you first hear about DTF transfers, it might sound like just another printing acronym. But if you're into custom apparel, you know that the method you choose can make or break a design. DTF, which stands for Direct to Film, has quickly become a favorite among crafters and small business owners for its versatility and vibrant results. Unlike other techniques, it doesn't require pre-treating or special fabrics, and it works on everything from cotton to polyester blends. In this guide, I'll walk you through the ins and outs of DTF transfers, sharing practical tips I've picked up from my own experience and from fellow printers. By the end, you'll know exactly how to get flawless prints every time.
What Are DTF Transfers and Why They Matter
At its core, a DTF transfer is a printed film that you apply to fabric using heat and pressure. The process starts with a digital printer that lays down a design onto a special film. Then, a powder adhesive is applied while the ink is still wet, and the film is cured. When you're ready to use it, you place the film on your garment, apply heat with a press, and peel away the film. The result is a soft, stretchable print that bonds permanently to the fabric.
Why does this matter? Because DTF transfers solve many of the headaches associated with other printing methods. For example, vinyl requires weeding and layering, which is time-consuming and tricky for intricate designs. Screen printing is cost-effective for large orders but impractical for small batches or one-offs. DTF, on the other hand, handles full-color, photographic designs with ease, and you can produce a single transfer or hundreds without changing your setup. It's a game-changer for anyone who wants professional-looking prints without a steep learning curve.
How DTF Transfers Compare to Other Printing Methods
If you're wondering whether DTF is right for you, it helps to see how it stacks up against the competition. Here's a quick comparison:
- DTF vs. DTG (Direct to Garment): DTG prints directly onto the fabric, which limits you to cotton-rich materials. DTF works on almost any fabric, including polyester, nylon, and blends. Plus, DTF transfers can be stored and applied later, giving you more flexibility.
- DTF vs. Vinyl: Vinyl is great for simple, single-color designs, but multi-color or detailed graphics require layering and precise alignment. DTF handles complex artwork in one go and doesn't add bulk to the fabric.
- DTF vs. Screen Printing: Screen printing is economical for large runs but requires separate screens for each color. DTF is more cost-effective for short runs and offers unlimited color without extra setup.
In short, DTF transfers offer a unique blend of versatility, durability, and ease of use that few other methods can match.
The DTF Transfer Process Step by Step
Getting a perfect DTF transfer isn't rocket science, but it does require attention to detail. Here's how to do it right.
1. Preparing Your Design
Start with a high-resolution image. Since DTF printers use CMYK inks plus white, you'll need to ensure your design is in the correct color mode. Most RIP software will handle this automatically, but it's always good to double-check. Also, remember that the white ink layer goes underneath the colors, so your design should have a transparent background. If you're using a design with a white background, it will print as a white block, which might not be what you want.
2. Printing and Powdering
Load your DTF film into the printer, making sure it's the correct side up. After printing, while the ink is still wet, sprinkle the hot-melt adhesive powder evenly over the design. Shake off the excess, then cure the film in an oven or with a heat press. The powder melts and creates a bond that will adhere to the fabric.
3. Applying the Transfer
Set your heat press to the recommended temperature, usually around 300°F to 325°F (150°C to 160°C). Pre-press the garment for a few seconds to remove moisture. Place the transfer on the fabric with the design facing up, and press for 10 to 15 seconds with medium pressure. Let it cool completely before peeling. If you peel while hot, the design might stretch or smear.
4. Post-Pressing for Durability
For extra durability, especially on stretchy fabrics, do a second press for 5 to 10 seconds after peeling. This helps the adhesive fully penetrate the fibers and ensures the print withstands washing.
Common Mistakes and How to Avoid Them
Even seasoned printers run into issues. Here are the most common pitfalls and how to steer clear of them.
- Insufficient Pressure: If the transfer doesn't stick, it's often because the pressure is too low. Make sure your press is adjusted so that you feel resistance when locking it down.
- Wrong Temperature: Too hot and the film might curl or the ink might scorch; too cold and the adhesive won't activate. Always check the manufacturer's recommendations for your specific film and powder.
- Peeling Too Soon: Patience is key. Let the transfer cool completely before peeling. If you're using a hot-peel film, follow the instructions, but most DTF films are cold-peel.
- Not Pre-Pressing: Moisture in the fabric can ruin the adhesion. Always pre-press for 5 to 10 seconds to evaporate any moisture.
By avoiding these mistakes, you'll save time, materials, and frustration.
Choosing the Right Materials for DTF Transfers
The quality of your DTF transfers depends heavily on the materials you use. Not all films and powders are created equal. Here's what to look for.
DTF Film
There are two main types: hot peel and cold peel. Cold peel is more common and forgiving, as it allows the transfer to cool before removing the film, resulting in sharper details. Hot peel is faster but requires precise timing. For beginners, I recommend starting with cold peel.
Adhesive Powder
The powder comes in different particle sizes. Finer powders (like 80-100 microns) are ideal for detailed designs, while coarser powders (like 150-200 microns) provide a stronger bond for large, solid areas. Many printers use a medium-grade powder as a good all-rounder.
Inks
DTF inks are specially formulated to be flexible and durable. Don't try to use regular inkjet inks; they won't work. Look for inks that are compatible with your printer and offer good color vibrancy.
Applications and Ideas for DTF Transfers
DTF transfers aren't just for t-shirts. They open up a world of possibilities for customizing all kinds of items. Here are a few ideas to get you started:
- Apparel: T-shirts, hoodies, leggings, and even denim jackets. DTF works on both light and dark fabrics, and the print stretches with the material.
- Accessories: Tote bags, backpacks, and hats. The durable print withstands frequent use.
- Home Decor: Pillow covers, canvas bags, and even canvas shoes. Just make sure the surface can withstand the heat of the press.
- Promotional Items: Corporate giveaways like uniforms or event merchandise. DTF allows for small batches with full-color logos.
The only limit is your imagination. However, always test on a small area first to ensure compatibility.
Frequently Asked Questions About DTF Transfers
How long do DTF transfers last?
With proper application and care, DTF transfers can last as long as the garment itself. They withstand dozens of washes without fading or cracking. To maximize longevity, wash inside out in cold water and avoid fabric softeners.
Can I use DTF transfers on 100% polyester?
Yes, DTF transfers work beautifully on polyester, unlike DTG which requires cotton. The key is to use a lower temperature (around 280°F to 300°F) to prevent the polyester from scorching or shrinking.
Do I need a special printer for DTF?
You can convert an existing inkjet printer to DTF with a DTF ink system and RIP software, but it's not recommended unless you're experienced. Purpose-built DTF printers are available and are more reliable for consistent results.
What is the best way to store unused DTF transfers?
Store them in a cool, dry place away from direct sunlight. Keep them flat or rolled, not folded, to prevent creases. Properly stored transfers can last for months.
Can I layer DTF transfers?
Yes, you can layer DTF transfers, but it's tricky. You'll need to apply the first transfer, then apply the second on top with a slightly lower temperature and shorter time to avoid remelting the first layer. It's often easier to design your artwork with all elements in one transfer.
DTF transfers have revolutionized the custom apparel industry by making high-quality, full-color printing accessible to everyone. Whether you're a hobbyist or a business owner, understanding the process and avoiding common mistakes will help you achieve professional results. So go ahead, experiment, and let your creativity run wild.