
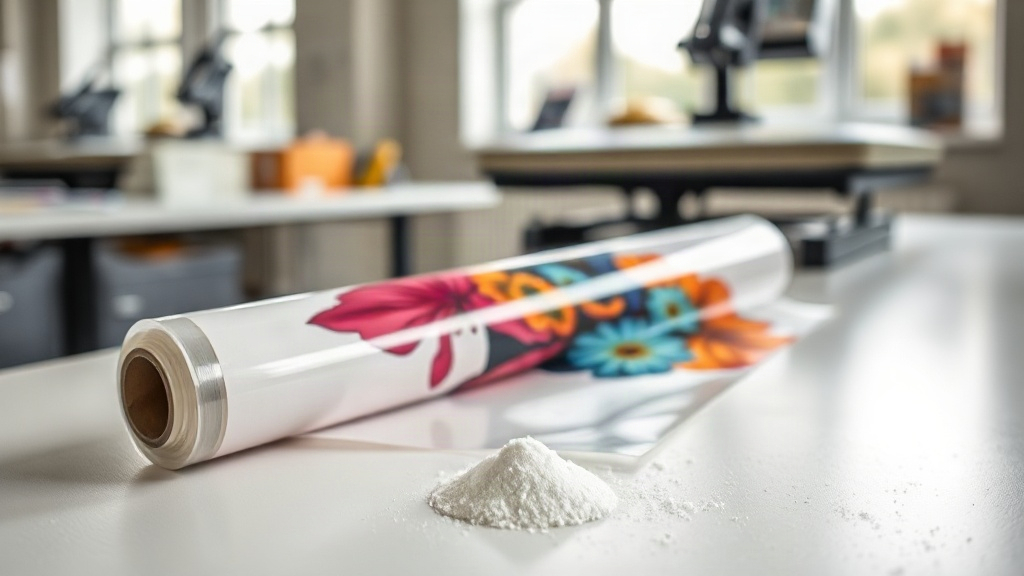
If you have spent any time around custom apparel, you have probably noticed the growing buzz around DTF printing. Unlike older methods that demand specific fabrics or heavy setup fees, this technique lets you transfer detailed, colorful designs onto cotton, polyester, blends, and even canvas with a few pieces of equipment. That flexibility is exactly why small print shops and hobbyists have started paying attention. This guide walks through what the process actually involves, how to choose materials, and how to avoid the mistakes that ruin finished pieces.
What Is DTF Printing?
DTF stands for direct to film. Instead of printing straight onto a garment or cutting vinyl by hand, you print your design onto a special PET film, cover it with a hot-melt adhesive powder, and then press it onto fabric with heat. The ink sits on the film until the powder and heat bind it permanently to the material.
The appeal comes down to three things: detail, fabric variety, and cost. You can reproduce fine gradients, thin lines, and photographic images without the color limitations of vinyl. Because the design transfers as a flexible layer, it works on stretchy materials too, which is a real advantage for athletic wear.
How the DTF Process Works Step by Step
The workflow is straightforward once you understand each stage. Skipping or rushing any of them shows up immediately in the final print quality.
Step 1: Preparing Your Artwork
Start with a clean, high-resolution file, ideally 300 DPI or higher at the size you plan to print. Remove any background you do not want transferred, and mirror the image horizontally before printing. If you forget to mirror, the design comes out reversed on the garment, which is a frustrating mistake to catch after the press.
Step 2: Printing onto Film
A DTF printer lays down white ink first, then color ink on top, depending on your design and printer settings. The white layer acts as a base so colors stay vivid on dark shirts. Printers with white ink circulation systems tend to clog less, so regular maintenance matters more than most beginners expect.
Step 3: Applying Adhesive Powder
While the ink is still wet, you sprinkle hot-melt powder evenly across the print. Shake off the excess so only a thin, uniform layer remains. Too much powder creates a rough, rubbery feel; too little causes the transfer to peel after a few washes.
Step 4: Curing the Powder
The powdered film goes into a curing oven or under a heat source until the powder melts into a glossy, gel-like finish. This step locks the adhesive in place and prepares the transfer for pressing. Uneven curing is one of the most common causes of poor durability.
Step 5: Heat Pressing onto Fabric
Place the transfer on your garment and press at the temperature and time your film manufacturer recommends, typically somewhere between 300 and 325 degrees Fahrenheit for 10 to 15 seconds. Peel the film according to the instructions, either hot or cold, and you are done.
Why DTF Stands Out Compared to Other Methods
Screen printing still wins on large runs of simple designs, and sublimation works beautifully for polyester, but neither offers the same combination of low setup cost and fabric freedom.
- No weeding: You skip the tedious cutting and peeling that vinyl requires.
- Full-color detail: Gradients, photos, and fine text reproduce cleanly.
- Fabric versatility: Cotton, polyester, blends, and even treated canvas accept transfers well.
- Low minimums: You can produce a single custom shirt without ordering bulk supplies.
- Stretch-friendly: The cured layer flexes with the fabric instead of cracking.
That said, DTF is not perfect for every job. Very large solid blocks of white ink can feel thicker than a screen print, and the hand feel is slightly rubbery compared to dye sublimation.
Common Mistakes and How to Avoid Them
Most failed transfers trace back to a handful of fixable issues. Paying attention to these saves both time and materials.
- Under-curing the powder: If the adhesive never fully melts, the print peels. Use a consistent heat source and check that the surface looks glossy, not chalky.
- Pressing at the wrong temperature: Too hot scorches the film, too cool leaves the adhesive weak. Follow your film's datasheet rather than guessing.
- Uneven pressure: A press with inconsistent pressure creates patchy adhesion. Check your press calibration periodically.
- Printing on the wrong side of the film: Film has a coated side for ink and a matte side for the peel. Mark your film rolls to avoid confusion.
- Ignoring fabric texture: Very rough or heavily textured fabrics need higher pressure and sometimes a longer press time.
Practical Tips for Better Results
Experienced operators develop small habits that make a big difference. Store film and powder in a dry place, since humidity affects how powder sticks. Keep your printer's white ink channel agitated, because settled pigment leads to weak opacity. Test every new fabric and film combination on a scrap piece before committing to a full order. When washing finished garments, turn them inside out and use cold water to extend the life of the transfer.
If you are just starting, buy small quantities of film and powder from a few suppliers and compare how each performs. The differences in peel behavior, stretch, and wash durability are noticeable, and finding the right match for your equipment takes some trial and error.
Frequently Asked Questions
How long does a DTF print last on a shirt?
A properly cured and pressed transfer typically survives dozens of wash cycles without significant fading or cracking. Longevity depends mostly on curing accuracy, wash temperature, and whether you dry on high heat.
Can I use DTF on dark or colored fabrics?
Yes, and this is one of its biggest strengths. The white ink base layer keeps colors bright on black, navy, and other dark materials, unlike methods that require a light background.
Do I need a special printer for DTF?
You need a printer designed for DTF film and white ink, along with a curing oven or heat source and a heat press. Standard home inkjet printers are not built for this process.
Is DTF more expensive than vinyl?
Per print, DTF often costs less once you account for labor, since there is no weeding. For tiny runs of a single color, vinyl can still be cheaper, but DTF scales better across full-color designs.
What temperature should I press DTF transfers at?
Most films call for around 300 to 325 degrees Fahrenheit for 10 to 15 seconds, but always follow your specific film manufacturer's recommendation, as formulations vary.